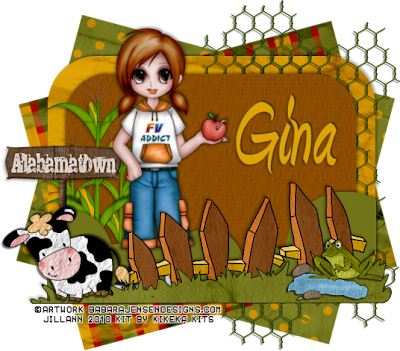
 To complete this tutorial, you will need the following items:
PSP ( I used version 9 but it should work in ANY version!)
Template #61 by Missy. You can find it HERE along with some other awesome templates! Don't forget to leave her some love if you download something!
Scrap kit of choice or the one I'm using by KiKeKa Kits called "Alabamatown".
You can find it HERE.
Tube of choice. I am using the awesome artwork of Barbara Jensen, which you can purchase HERE. She does not require a license to use this artwork but does require credit, so please read her TOUs.
Font of choice. I used Amienne.
This tutorial was written by me on May 25, 2010. It is entirely my own idea and any similarity to another other tut is purely coincidental! You may print this tutorial out for your own needs but please do not copy and paste it ANYWHERE or claim it as your own. You may link to my tutorial for group use.
All set? Let's go! This will be an easy one. Using templates has got to be the easiest thing ever!
First of all, hit shift D to duplicate the template so you will be able to use it again!
I closed off all the circle layers, the copyright layer and the background layer.
Make "rectangle" active. Selections>Select All>Float>Defloat. Copy and paste a paper of choice as a new layer. I used Paper01. Selections>Invert>Delete. Selections>Select None.
Rotate this layer to the left by 15.
Repeat these steps, using another paper. I used Paper16.Rotate this layer to the right by 15. You can now either delete the "rectangle" layer or close the eye next to it in your layer palette.
I added a small drop shadow to each of the layers at this point and resized each layer by 85%.
I repeated the above steps with the "rounded edge -lighter" layer and used Paper5 and then on "rounded edge - darker" layer, flood filled with a shade of brown from the tube. Drop shadows were added at this point.
I resized the "shape" layer by 87% and flood filled it with a shade of green from the papers. I added a small drop shadow at this point.
Add as few or as many elements as you like! I resized the elements so that they would fit in front of the "shape" layer. Add drop shadow to your elements.
Now all thats left is adding a tube of your choice or one from the kit.
I gave the tube the same small drop shadow as all my layers
and positioned her so that it looks like shes leaning on the sign.
Add your text and copyright. If you want a transparent tag, save as a .png.
Thanks for trying my tutorial! I would love to see your results!
Happy Scrappin'!


0 comments:
Post a Comment